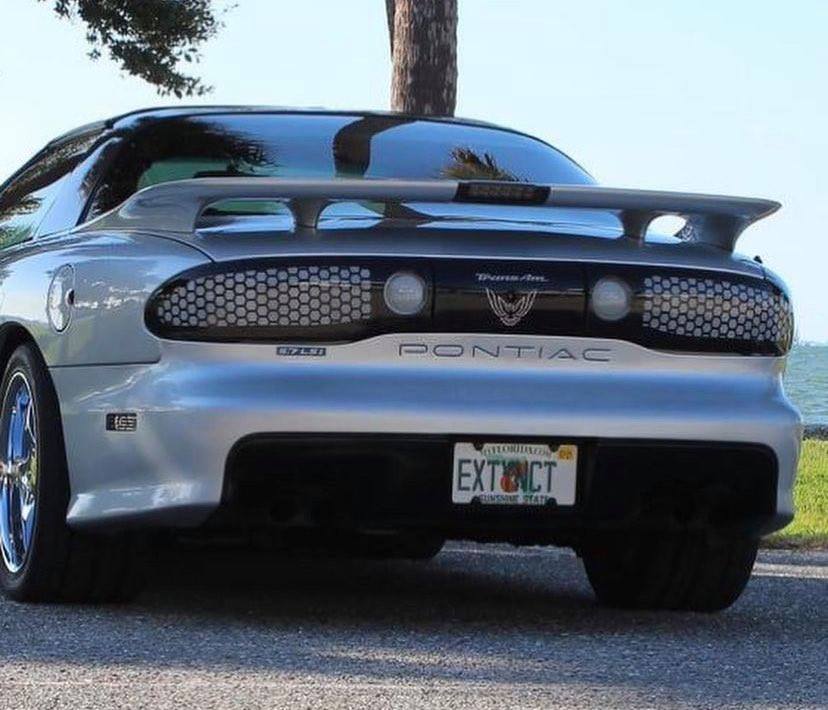
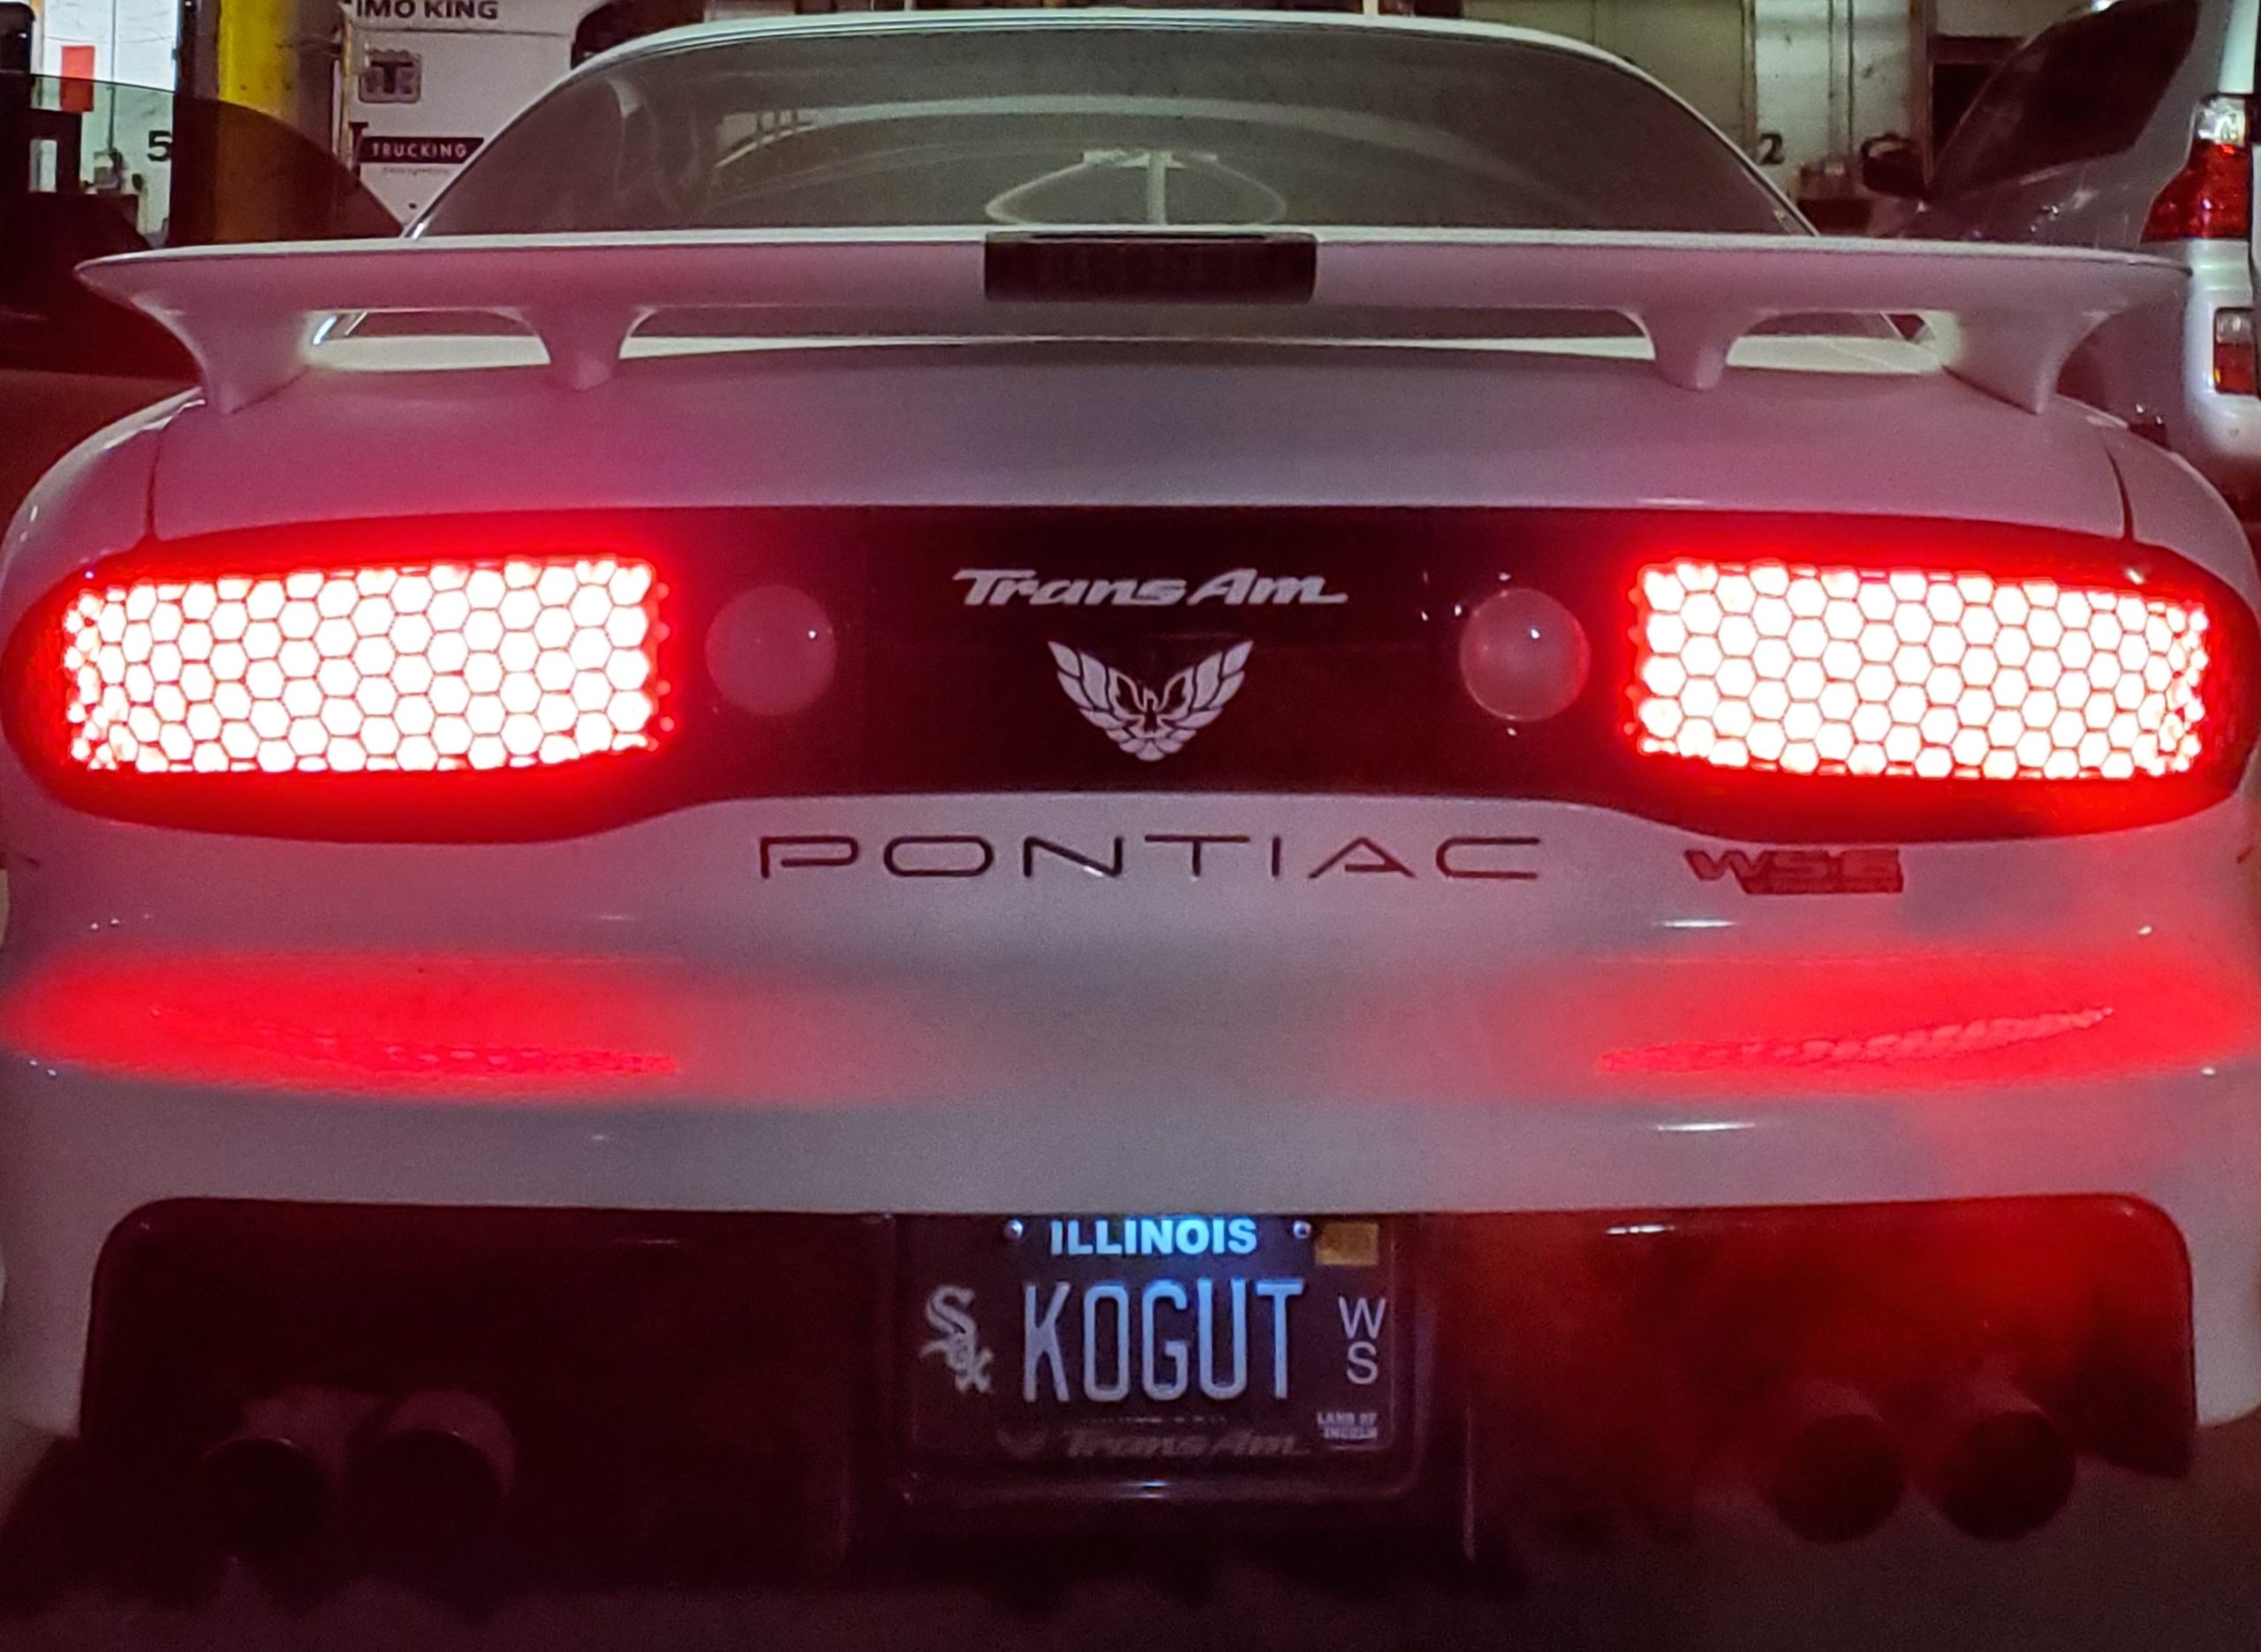
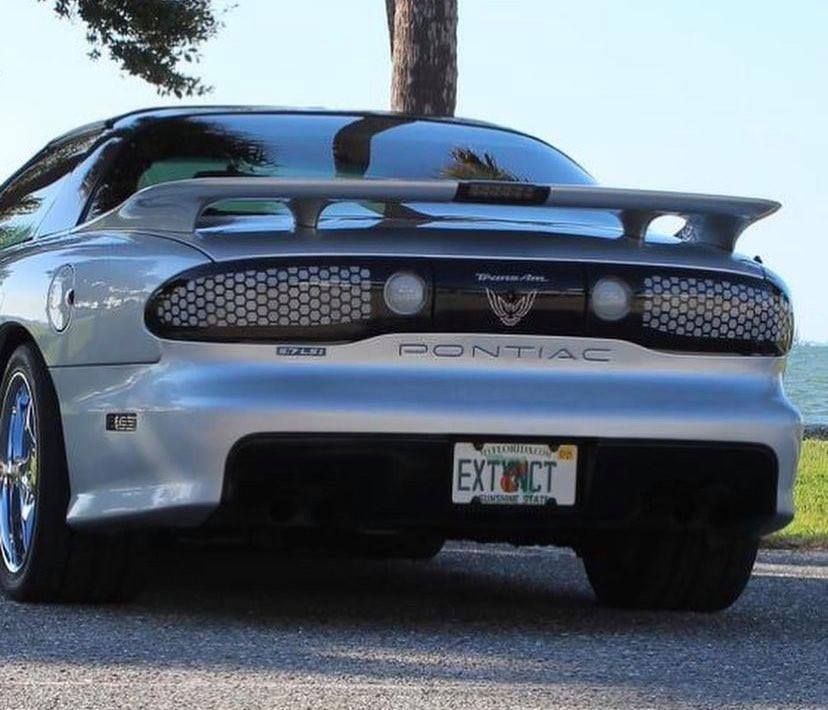
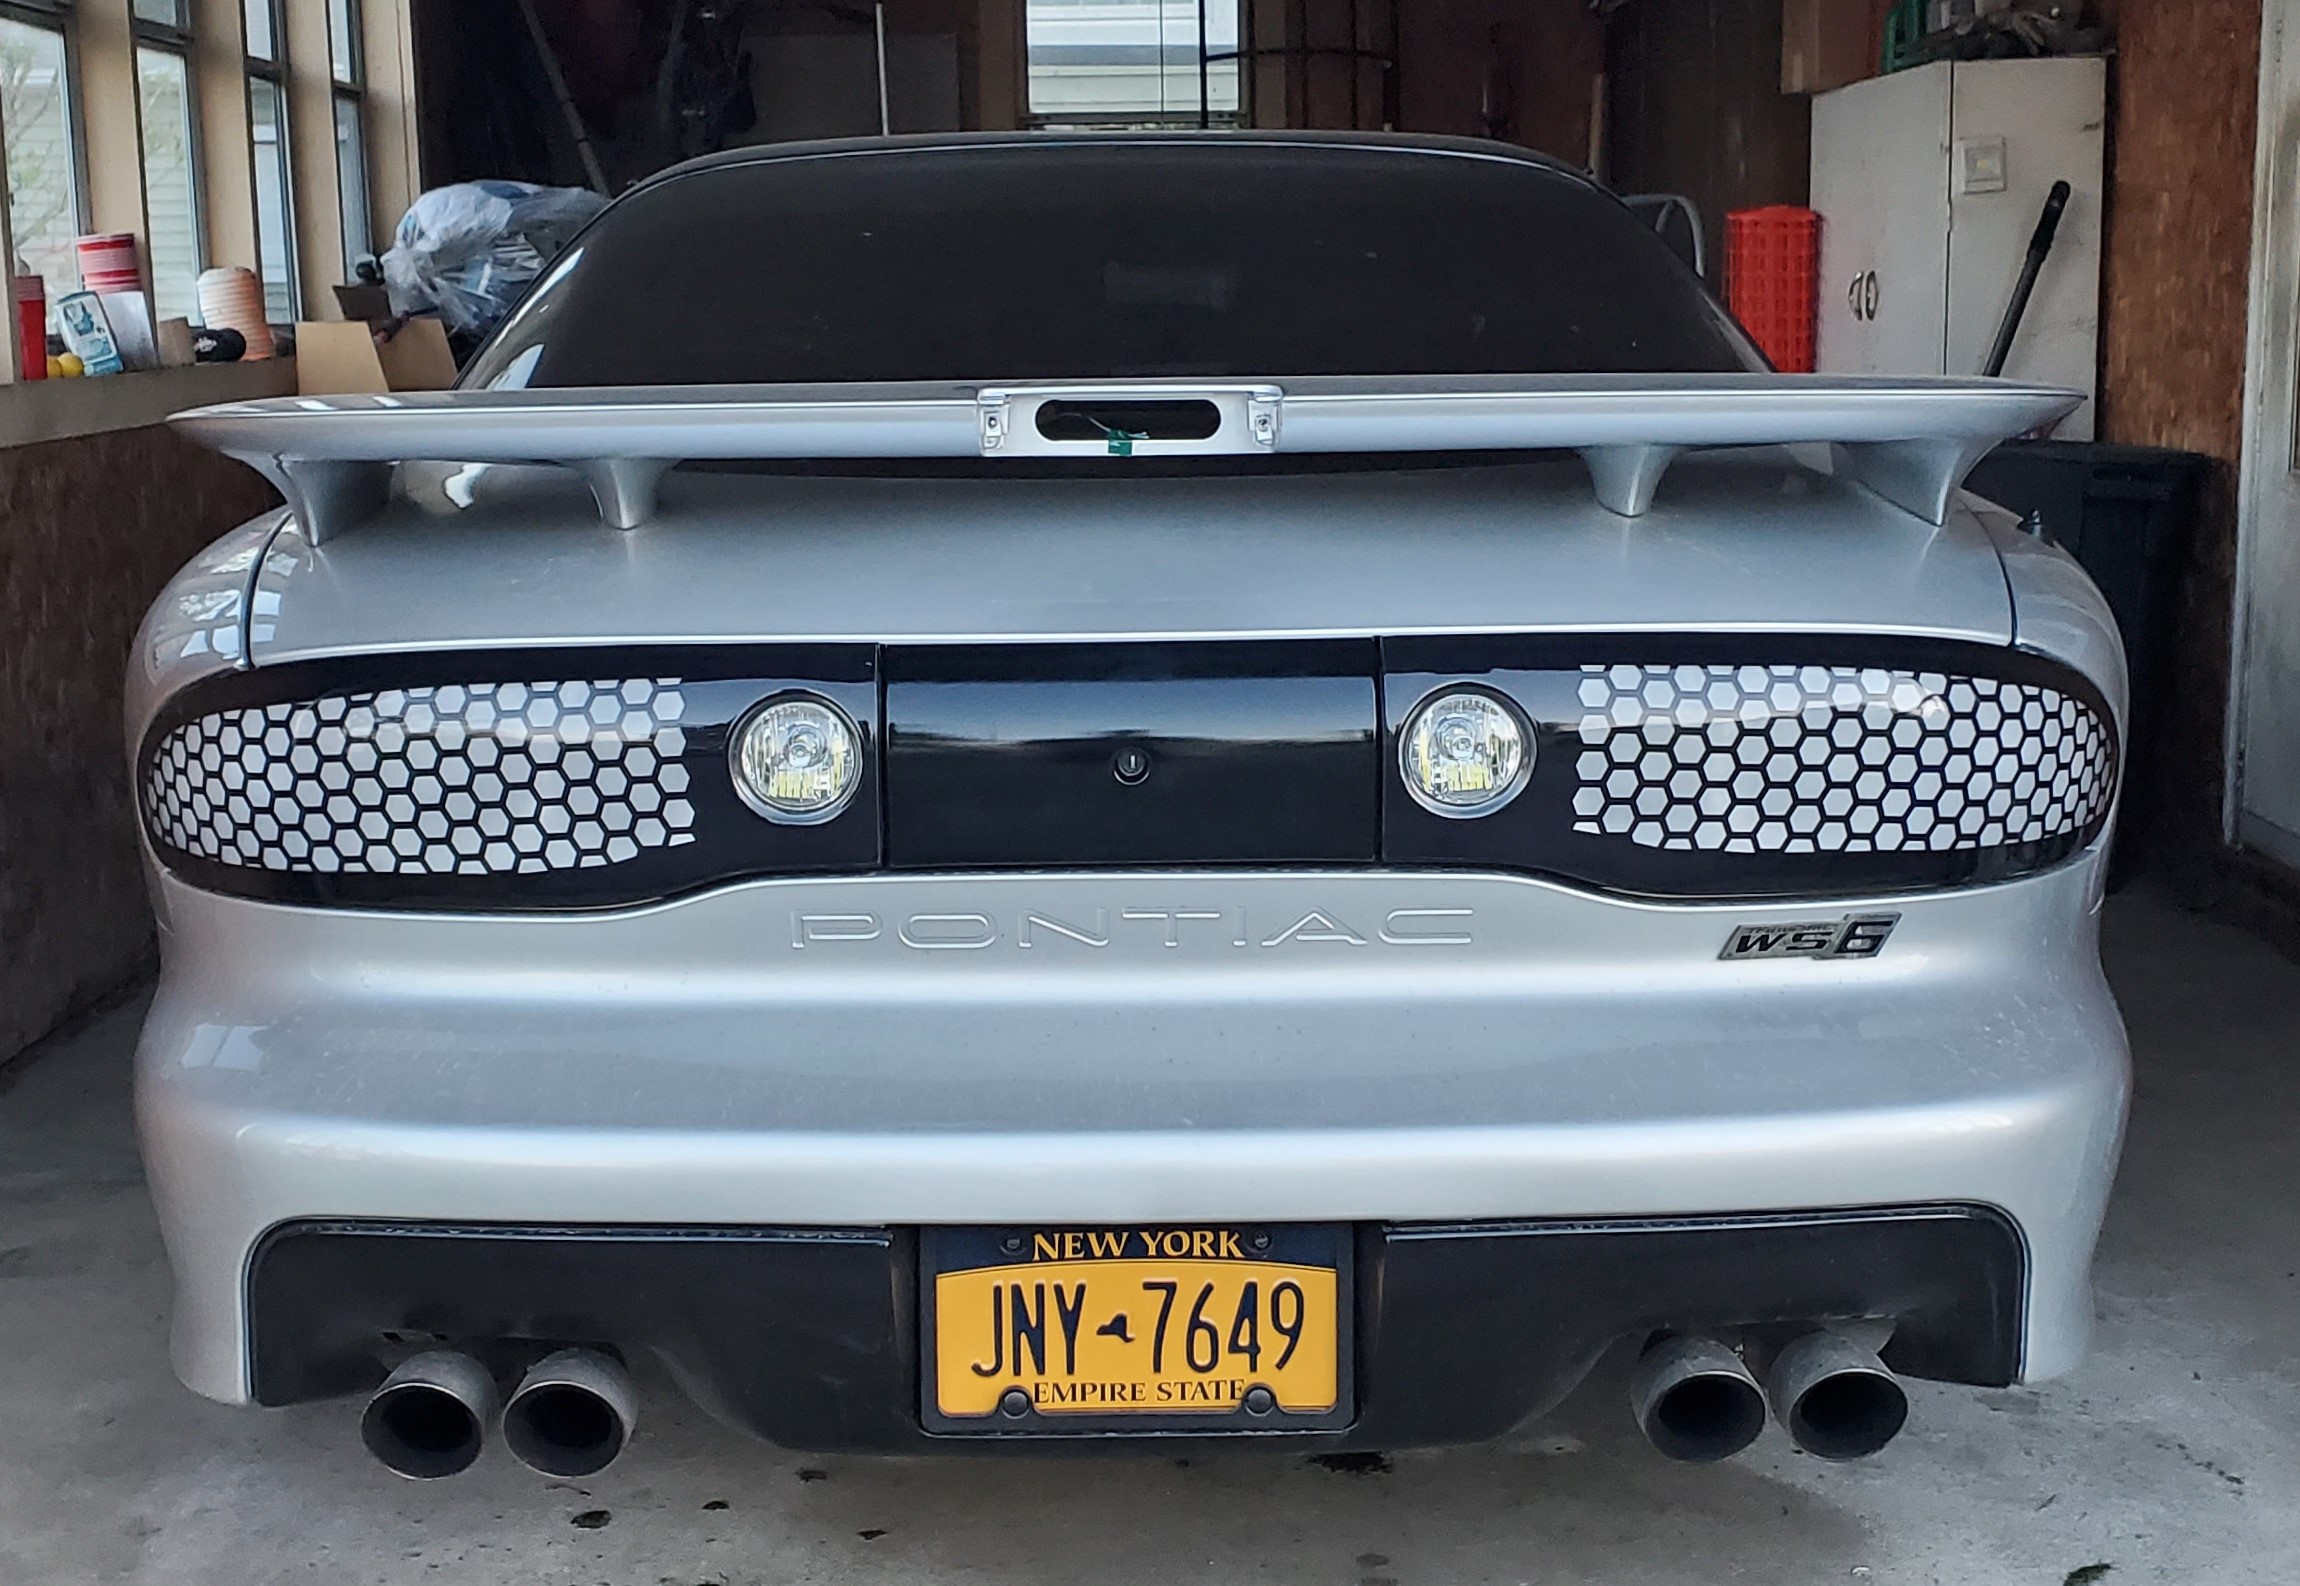
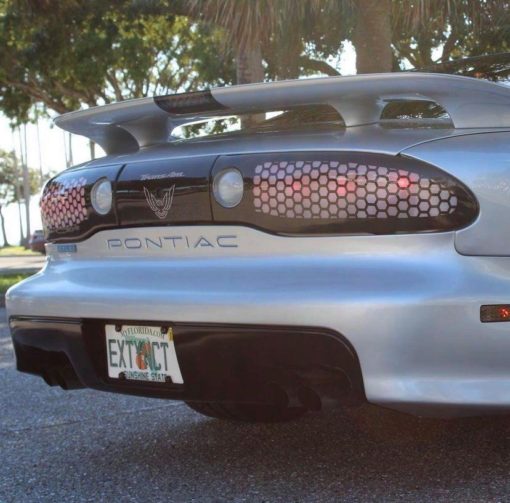
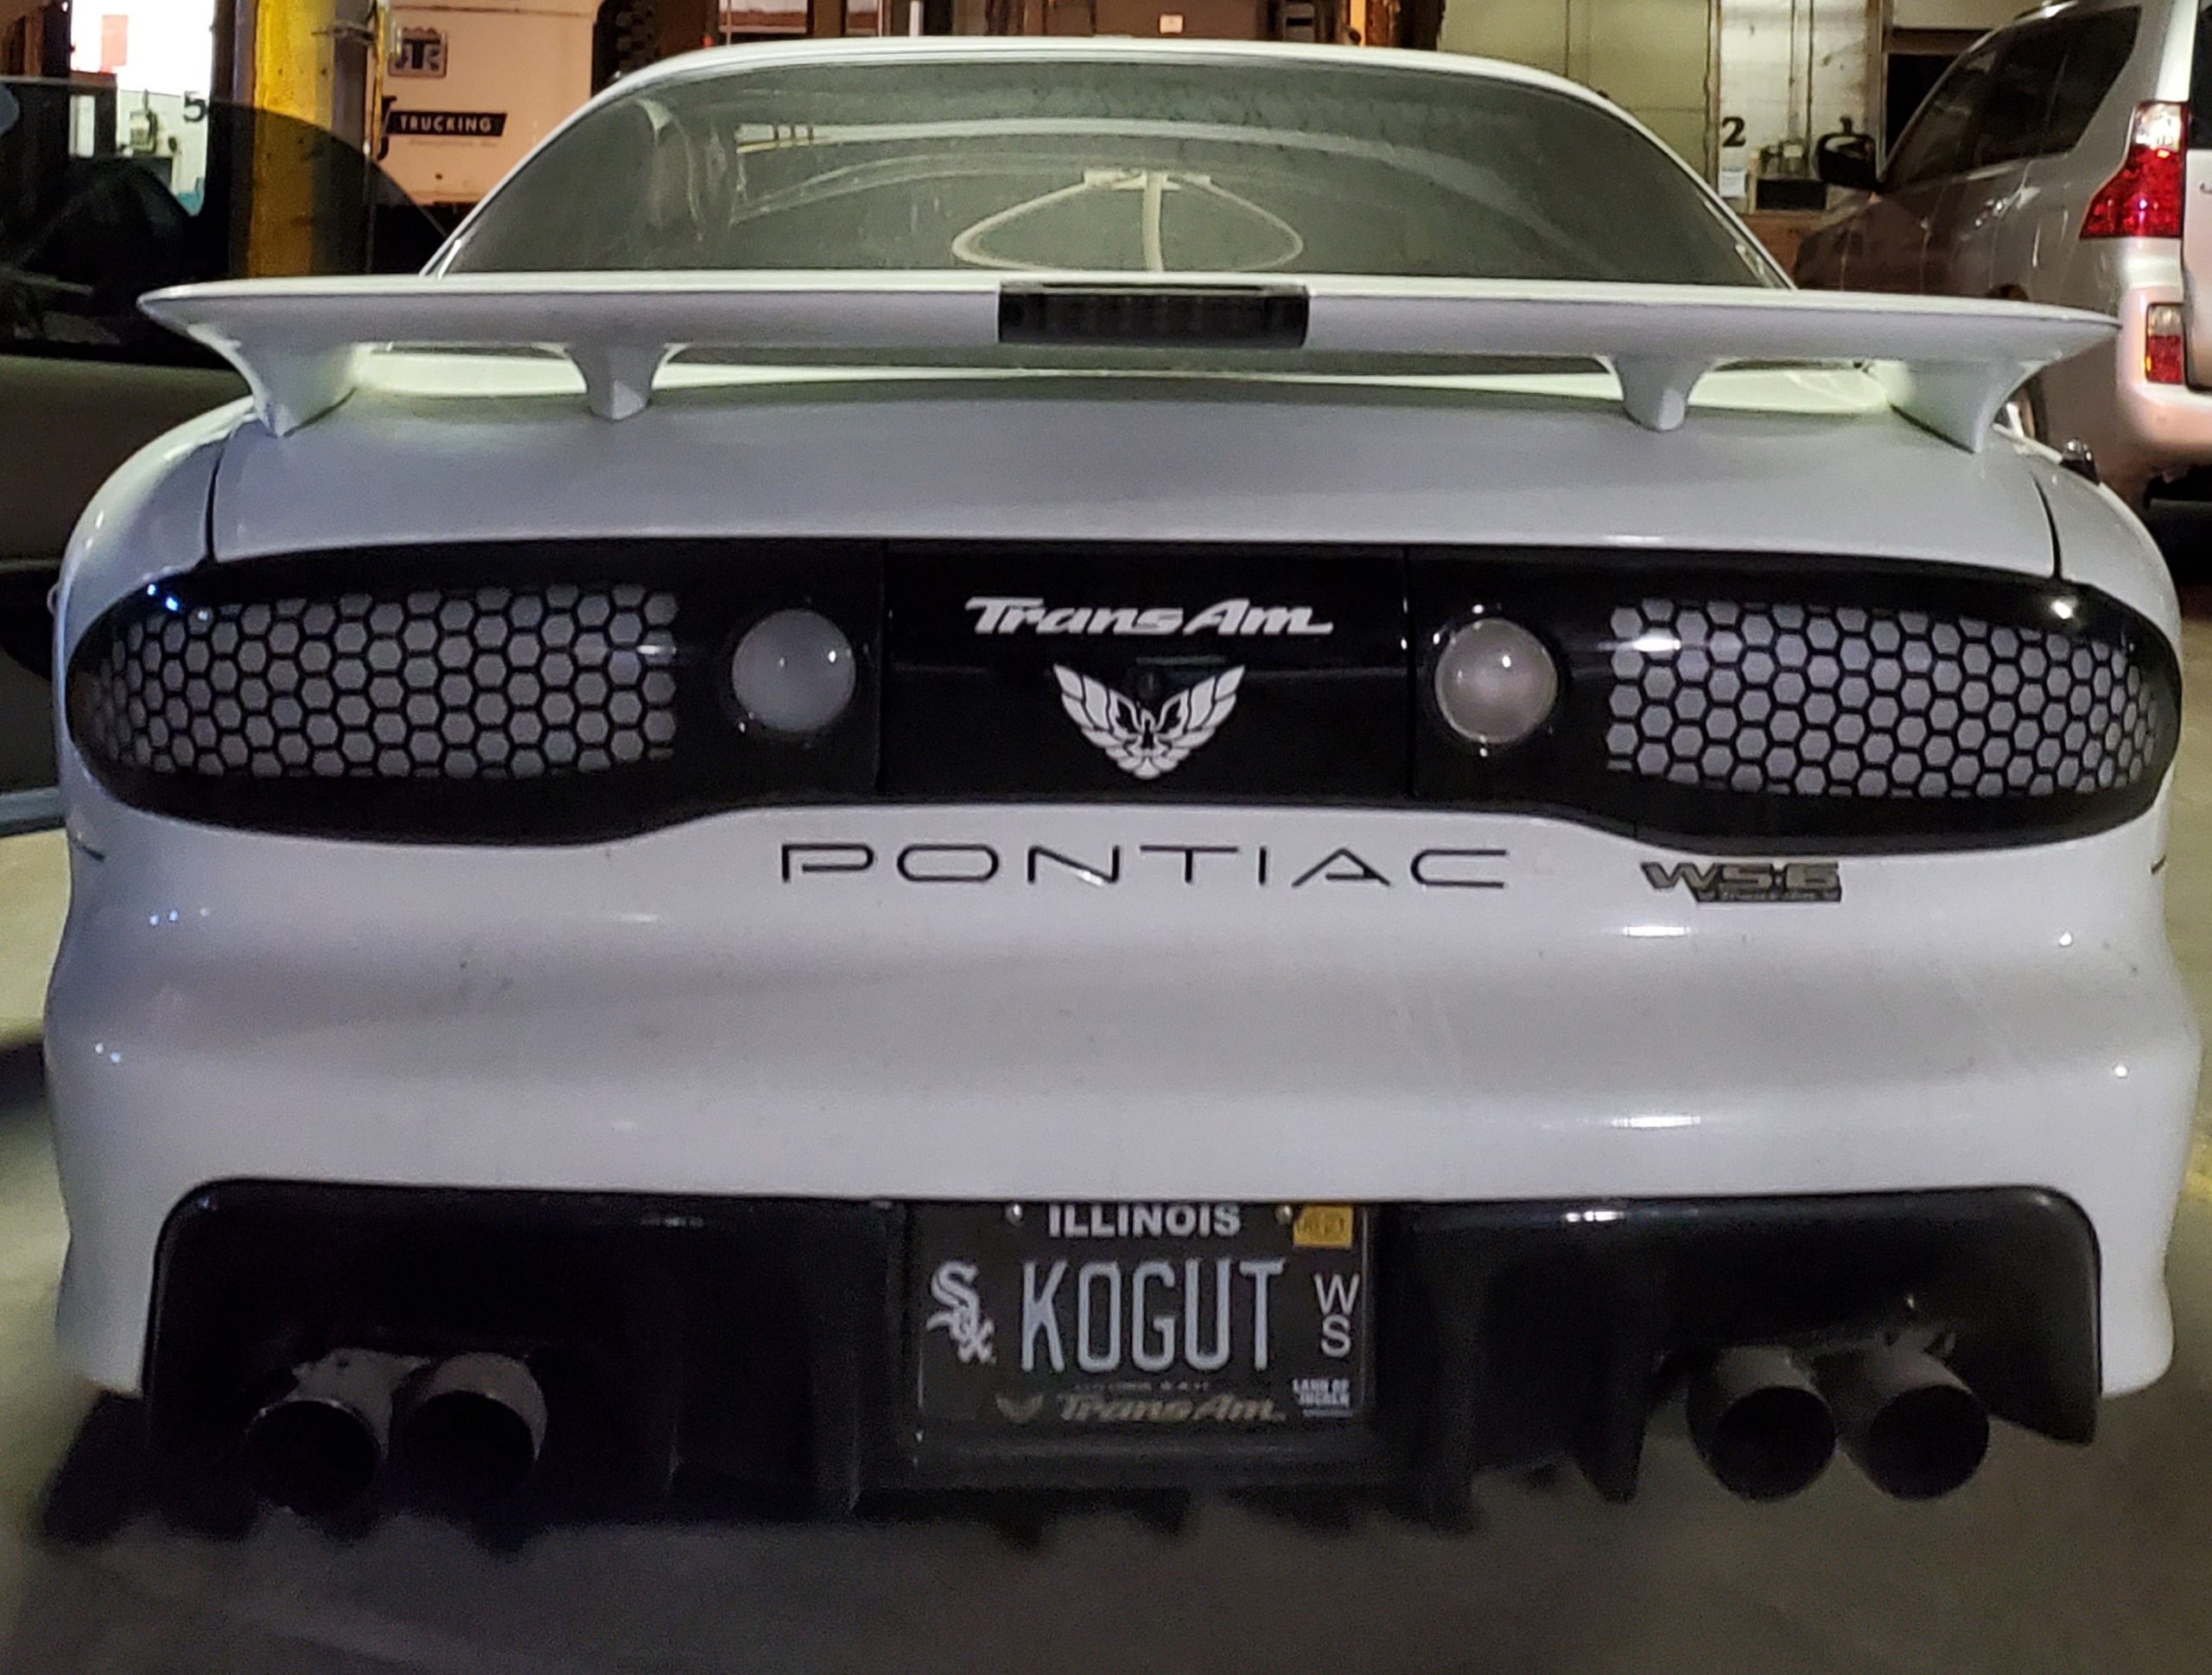
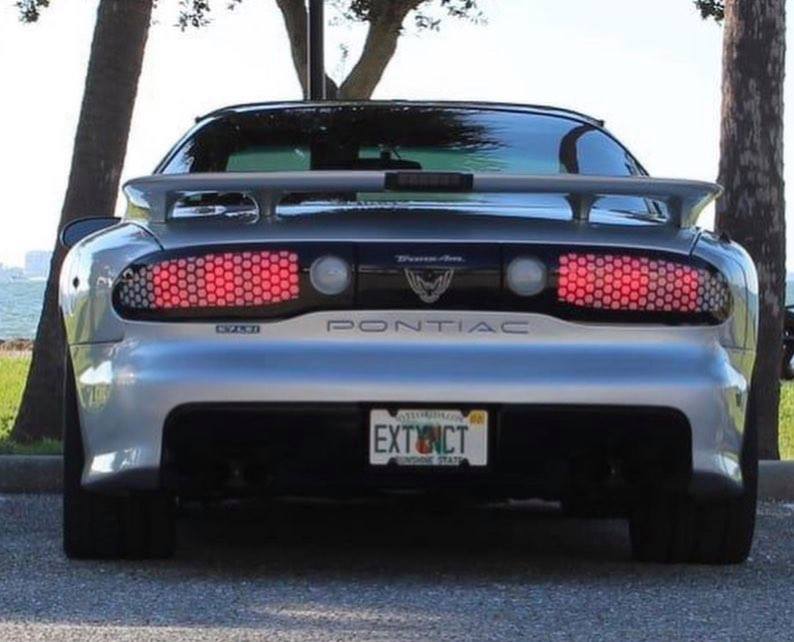
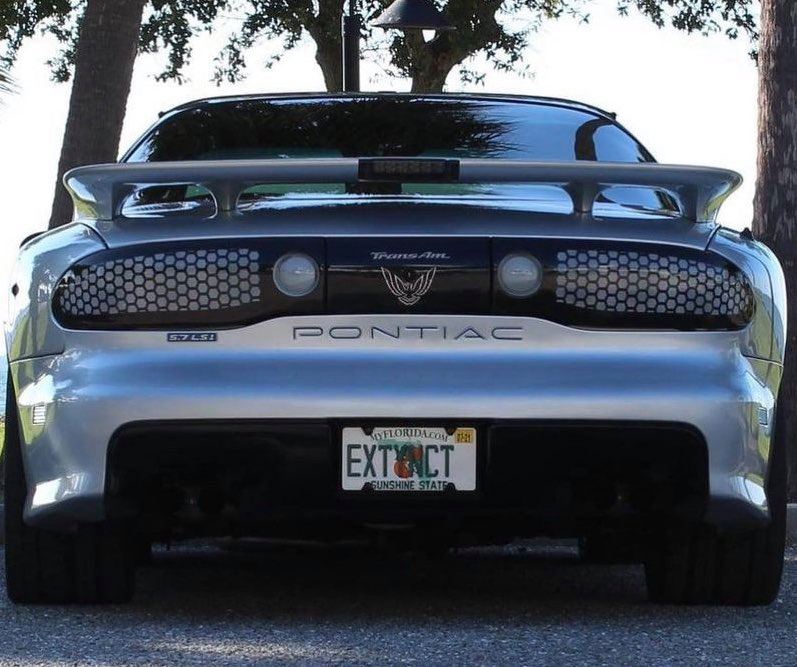
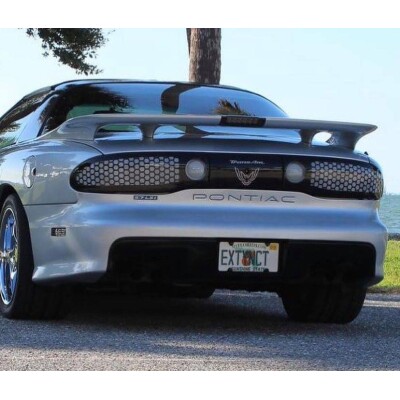
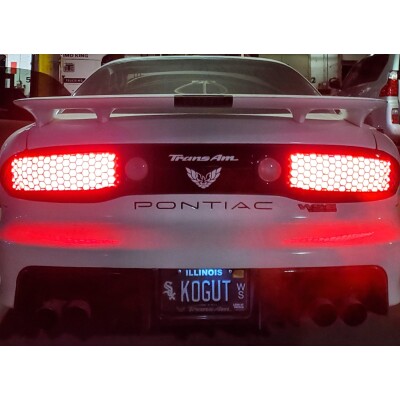
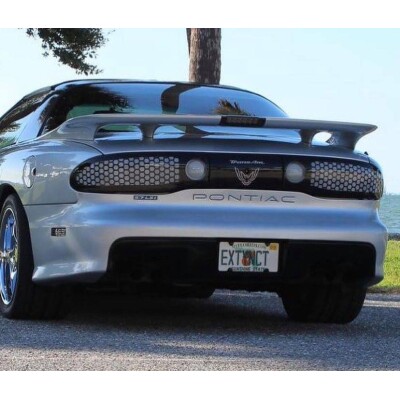
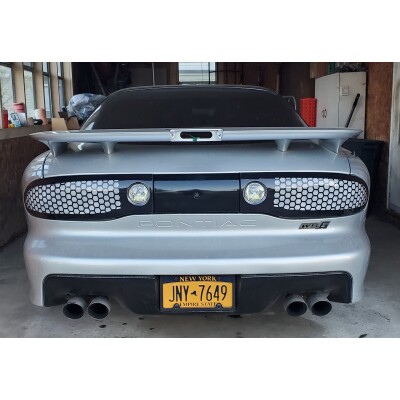
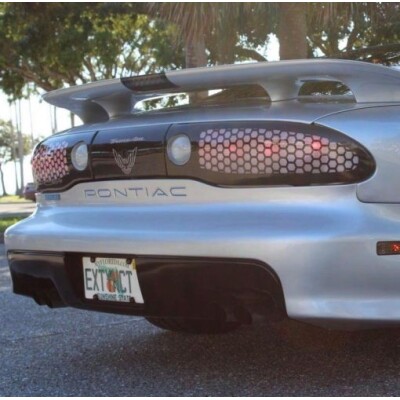
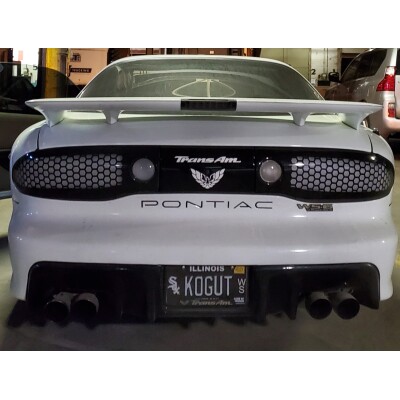
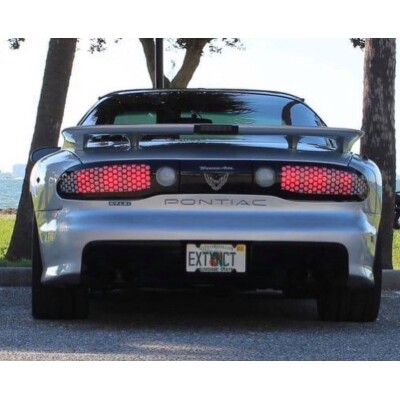
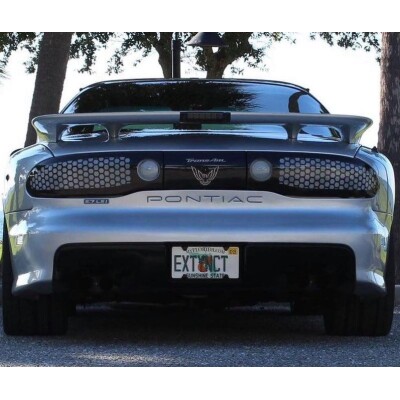
1993-2002 Firebird/Formula/Trans-Am/WS6/Firehawk Diffused White Tail Light Lenses – READY TO MOUNT
-
CLICK HERE for more information on our current Lead times
Out of stock
 FREE Shipping to 48 States
 Ships from Manufacturer
1993-2002 Firebird/Formula/Trans-Am/WS6/Firehawk Clear and Custom Tail Light Lenses – READY TO MOUNT
NOTE: We recommend the use of red LED replacement bulbs, or a digitalis LED circuit board kit, as well as brighter LED Reverse bulbs to optimize function and styling.
PRODUCT VIDEO: 1993-2002 Firebird/Formula/Trans-Am Clear Lenses Custom Tail Lights How To and Product Description
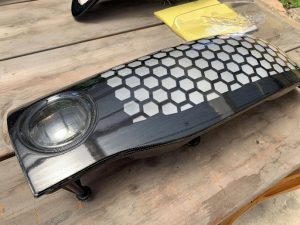
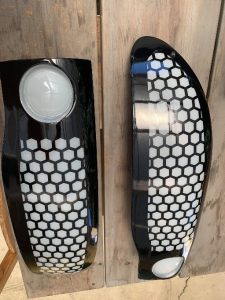
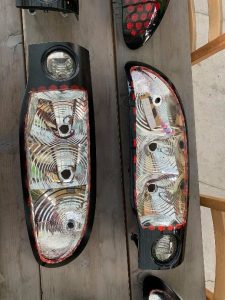
PLEASE NOTE: The Lenses you will receive will be READY TO MOUNT. They have the Vinyl Honeycomb and the Diffusion Already Applied. You will just need to follow Steps 4-6 Below to mount them to the original housing.
This is a complete guide to the products and services we offer as well as a brief assembly process for modifying and customizing a set of 1993-2002 Firebird Models’ OEM tail lights.
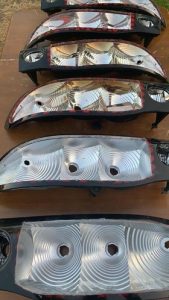
Step 1. Clear Lenses (INCLUDED)
The first step of our process is thermal forming the lenses. The parts are “pulled” using our mold and a sheet of material. Parts are vacuum thermal formed from a sheet of material, pulled, repeat.
Then the raw material is trimmed, polished and sanded leaving us with CLEAR LENSES. We offer the product for sale at this stage for anyone wanting to do the rest of the work themselves or something more custom.
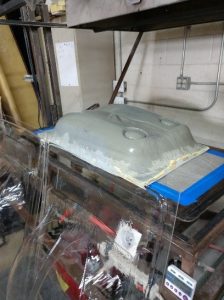
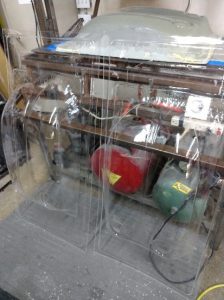
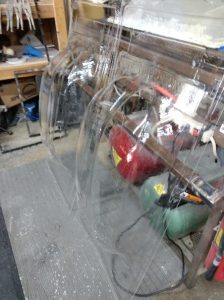
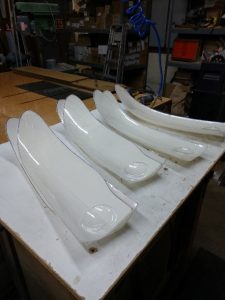
Step 2. Honeycomb, Black Border and Clear Applied (INCLUDED)
In this step, clear vinyl, with a printed pattern, is applied to the outside of the lens and then a UV Protectant Clear Coat as well.
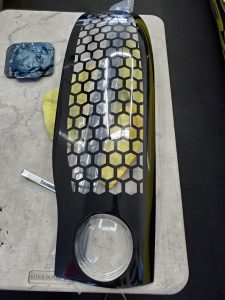
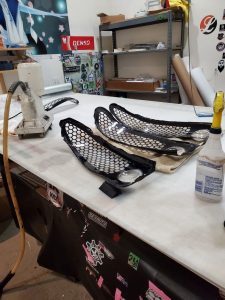
Step 3. Diffusion Applied (INCLUDED)
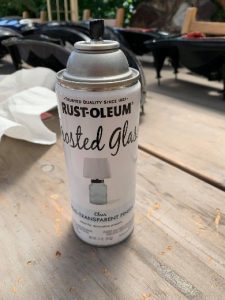
NOTE: A translucent or semi-transparent paint of ANY color will work in this phase. Please keep in mind only certain colors will still allow the recommended red LEDs to light properly.
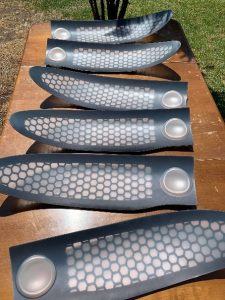
In order for the brake lights to light the entire lens properly, we add a layer of diffusion to the BACK of the lens. We use a semi-transparent clear, also called “frosting”. We can do a LIGHT DIFFUSION (gives a smoked look) or HEAVY DIFFUSION (gives a white look). We can also leave the REVERSE LIGHT cove CLEAR or add diffusion, completely up to the customer.
A few light layers gives them more of a smoked effect, whereas heavier layers will give more of the modern milky white effect.
Step 4. Trimming the OEM Lenses
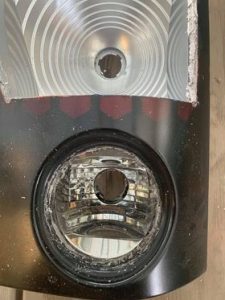
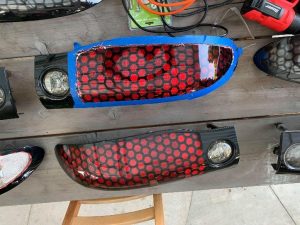
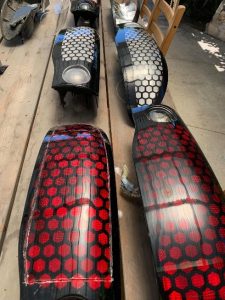
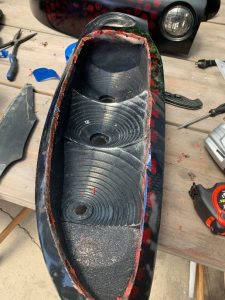
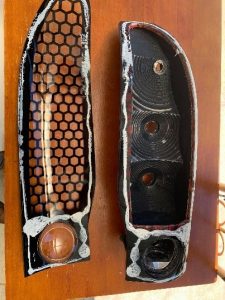
In this step you create a mounting flange for our lens out of the OEM lens. You trim out most of the red honeycomb and remove the reverse light lens.
The goal is to trim but leave a half inch of OEM lens material inside the mounting line. If you look under your housing, you will see where the OEM lens bonds on. You want to trim the lens about half an inch on the INSIDE of that line.
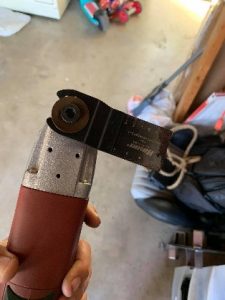
This is a LONG process. It can take an hour to just cut one. The material is extremely thick and we recommend using an oscillating tool, wall powered, and straight blade. Dremels will take too long and cut off wheels on larger rotaries run the risk of cutting into the housing on the outer edges of the lens.
Step 5. Reconditioning OEM Housings
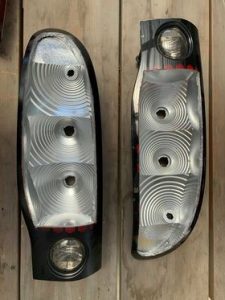
Due to the age of these vehicles, once you open the housings you may find nice and shiny chrome, or discolored black chrome.
If yours looks black, you can simply spray it with a metallic silver paint like “bumper chrome” and it will restore functionality as well as give the finished product a better appearance.
Step 6. Mounting and Sealing
After trimming the OEM lens and cleaning or repairing the housings, you are ready to mount our lenses to your housings.
Apply a very small amount of black windshield adhesive to the created flange. In the picture I used a test piece and white glue so you could, over dramatically, see where to apply.
Position our lenses in place and press onto the housings.
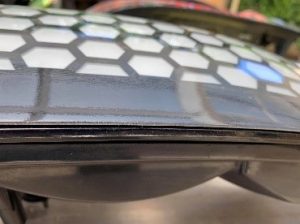
When in place there WILL be a GAP on the outer edges, the rounded corners at the quarter panels, where our lens does NOT go all the way to the outer edge.
This is not a mistake; it is a manufacturing choice to prevent the possibility of wind catching the lens. It is not noticeable when installed, it is around a ¼” gap where the OEM lens is exposed but it is black and draws no attention.
Use multiple bungee cords to apply even pressure across the face of the lens (place a microfiber towel between the cords and the lens, I left this step out for better pictures), in effect “clamping” it in place.
If it seems parts of our lens are pulling away from the OEM housings between cords, we recommend using more cords.
Make sure your cords are not too tight and warping the lens, and then let it sit for 4 to 6 hours in the clamping system.
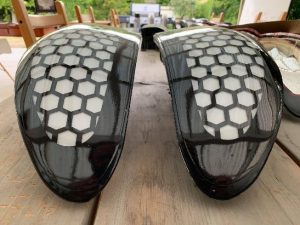
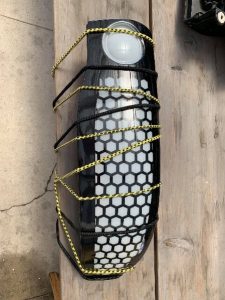
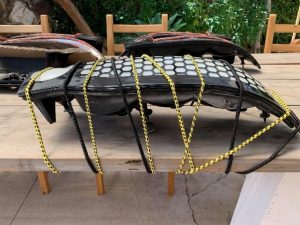
After fully cured, remove and install on your vehicle. It would be greatly appreciated as well if you take some pictures and send them back to us. This is a design project of love and we would love to see them on your cars. Thanks for giving us the opportunity to be a part of your build!
Only logged in customers who have purchased this product may leave a review.
Related products
-
-
-
 | LEARN MORE
 N-Fab Nerf Step 07-17 Toyota Tundra Double Cab 6.5ft Bed - Tex. Black - W2W - 3in
  | LEARN MORE

Reviews
There are no reviews yet.